.JPG)
The first thing I did in preparation for my apartment was designing some wall art. I am big into painting and I love the unframed canvas looks, but canvas can be expensive!
Q: How did I get by the cost of canvases?
A: I went to a thrift store and kept my eyes peeled for already used canvases!
I found five canvases at Cracker Barrel, on sale for 75% off! Four of them were the exact same picture of pool balls in the shape of a heart, another one was an American eagle with a quote by FDR on it. I snatched those puppies up for less than five dollars total and decided to up-cycle them. I also found a nice sized canvas at a thrift store, again with a design already on it for a kids room with the ABCs. I bought it for basically nothing and added it to my collection of up-cycled canvases.
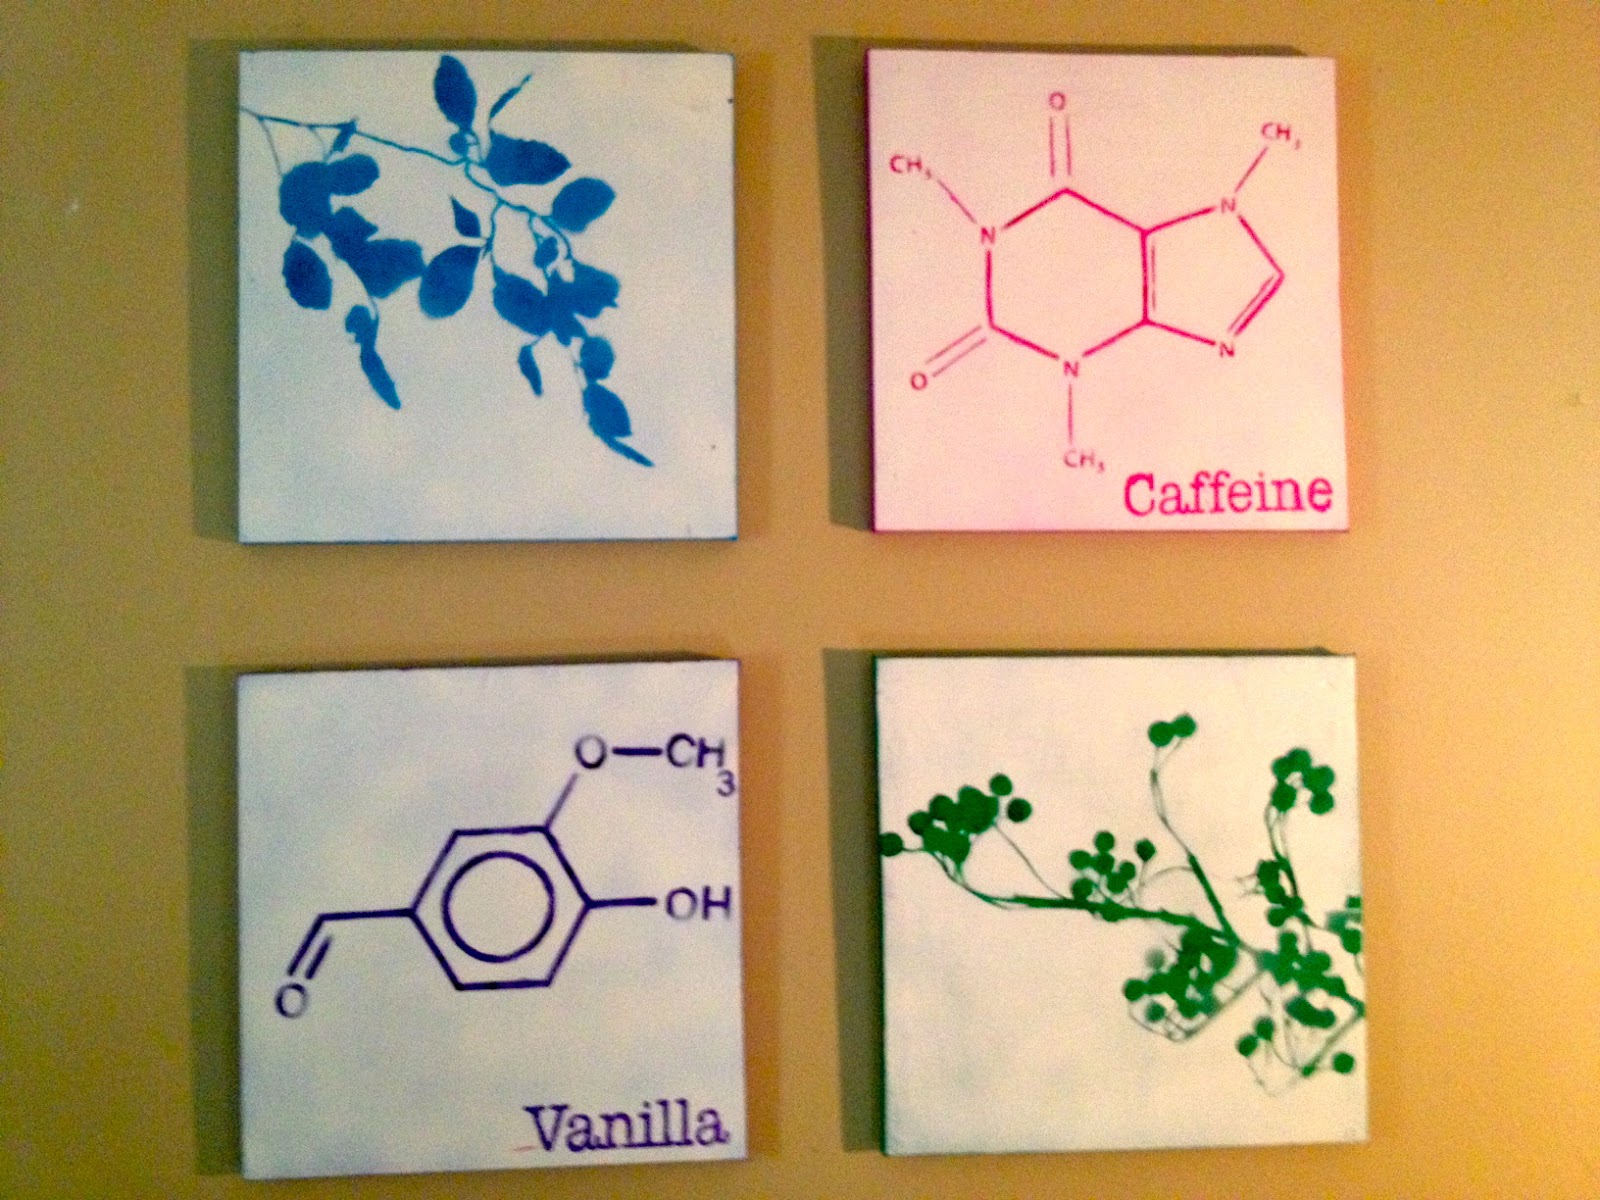
Once I got the canvases it was time to figure out what I wanted to do with them. I decided the quickest and easiest way to make some paintings on my own, without the fear of messing up or putting my artistic skills to the test, was to use stencils.
Here's the problem: Stencils can get expensive and you can't always find exactly what you want.
Solution: Make your own!
I went onto google, typed in what I wanted, for example, I wanted one of my canvases to be an atlas of the world (not necessarily geographically correct but you get the idea), so I searched for an image, large enough to print out without being pixelized and I printed it on card stock.
Here is a step by step process on how I accomplished this at the right size for the canvas.
1. Obtain the dimensions of the canvas
2. Search an image (for plants or animals I find it the easiest to include the word silhouette)
3. Select an image that is preferably in the thousands when it comes to image size, if its pixelized when it prints the image is too small, but thats okay because it will be a stencil!
4. This step needs to be separated depending on if your Mac or Windows (I happen to have a Mac)
-Windows: open the image in Microsoft publisher, customize the page size to the size of your canvas
when you print it out, it should print your image out in tiles
-Mac: For some reason Publisher was not cooperating with printing in tiles so I purchased a desktop
app called Mindcad Tiler for $4.99
You will have to convert the image to a PDF first, which you can do for free at freepdfconvert.com
Adjust the dimensions of the pdf to the dimensions of the canvas and print.
5. Cut out the stencils.
-This is the most tedious part, I would recommend an exacto-knife or a small pair of sewing scissors.
Now, for prepping the canvases.
For one of the canvases I needed the base color to be white so I bought a cheap can of spray paint and painted it white. For the others I had different base colors in mind and used some left over paint from other projects to cover the old images.
Applying the stencils.
On some of the stencils there where a lot of fine lines so I sprayed the backs with adhesive spray and applied them on there. You can get adhesive spray at any craft store. Otherwise, I taped the stencil down with painters tape.
Painting over the stencils.
For four of the canvases I spray painted over the stencils which gave a nice fading effect to the image.
On the world map picture I sponged over the stencil.
-tip- when using card stock as a stencil, sponging works the best. Make sure there is not too much paint on the sponge, or it will bleed through the card stock.
On the canvas with a verse I used the sticker letter technique.
I will address in more detail each of the techniques for the different types of canvases in a separate post! These tips are just the basics for making a canvas your own! I hope they were useful!
No comments:
Post a Comment